Tamagoyaki: Japanese Rolled Omelette in 20 Min

Table of Contents
Tamagoyaki is a Japanese omelette made from 8 eggs seasoned with a little dashi, sugar, mirin and light soy sauce, cooked in thin successive layers that stack into a golden, tender and lightly sweet block. This version serves 4 and takes about 20 minutes in total, provided the dashi is already made or bought.
Tamagoyaki is often called a rolled omelette; here the method builds it by stacking thin layers in the pan. The recipe is adapted from the Tamagoyaki page of the KochWiki community cookbook (see the source at the end of the article). Nothing in it is complicated, but there is a rhythm to find: pour, let set, stack, oil, repeat. The eggs are cooked through once each layer is set and no liquid egg remains.
If you are after runny yolks instead, have a look at our perfect soft-boiled eggs ; for a bolder breakfast, try shakshuka, eggs poached in spiced tomato sauce . Tamagoyaki, by contrast, is all about tender, even layers.
Utensils #
- A rectangular non-stick tamagoyaki pan, or alternatively a small round non-stick pan
- Chopsticks or a thin spatula to flip and stack the layers
- A bowl and a whisk (or a fork) to beat the eggs
- A little paper towel to spread the oil
- A cutting board and a sharp knife to slice the block
Recipe #
Ingredients #
- 8 medium eggs
- 1 tablespoon dashi (Japanese stock), store-bought or made in advance
- 2 teaspoons sugar
- 3 teaspoons mirin (sweet rice wine, contains a little alcohol)
- 2 teaspoons light soy sauce
- 2 tablespoons neutral oil (peanut, sunflower, corn or rapeseed), plus a little extra for re-oiling the pan between layers
Instructions #


Estimated total time: 20 min with the steps performed in sequence, including cooling and serving.
-
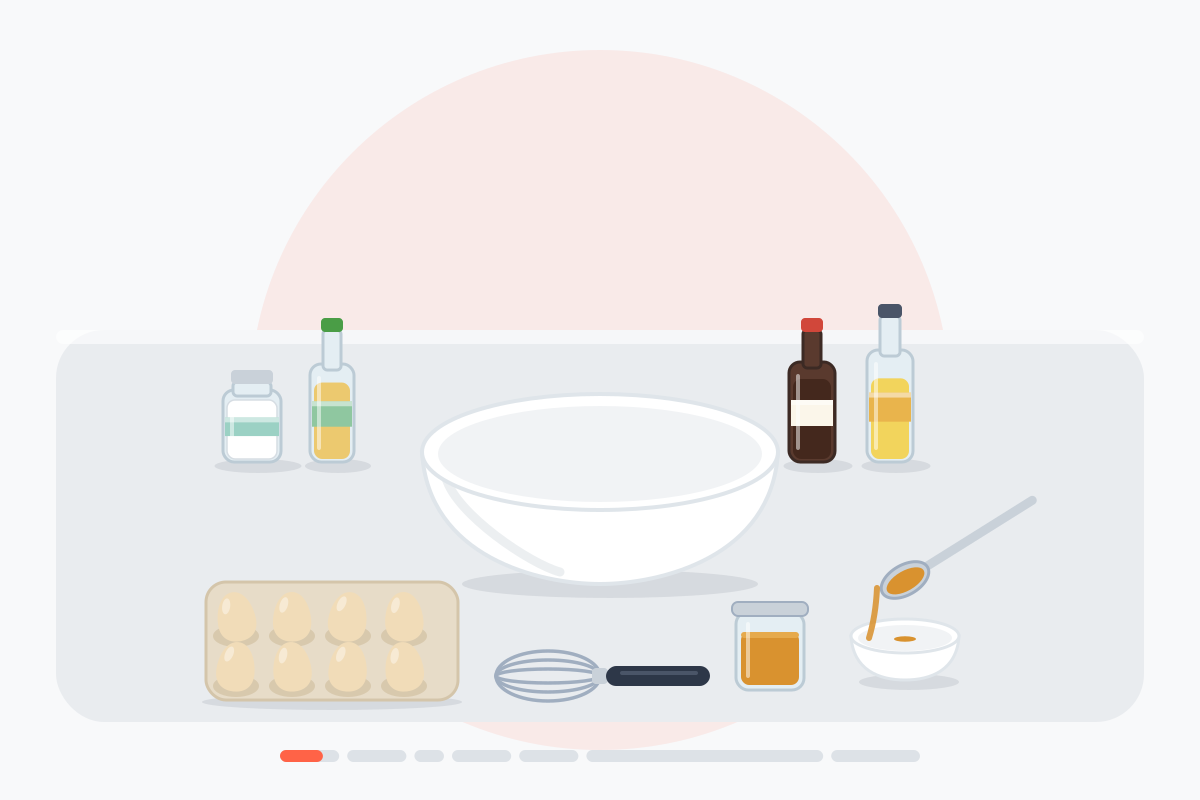
Prepare the dashi: Have 1 tablespoon of dashi ready. Use store-bought dashi, or homemade dashi made in advance: soak kombu in cold water for at least 10 minutes, remove it just before the water boils, add the katsuobushi (dried bonito flakes) and bring to the boil, rest 5 minutes off the heat, then strain. Only 1 tablespoon is needed for this omelette, so homemade dashi has to be made ahead: the 20 minutes of this recipe assume it is already ready. Estimated duration: 2 min.
-
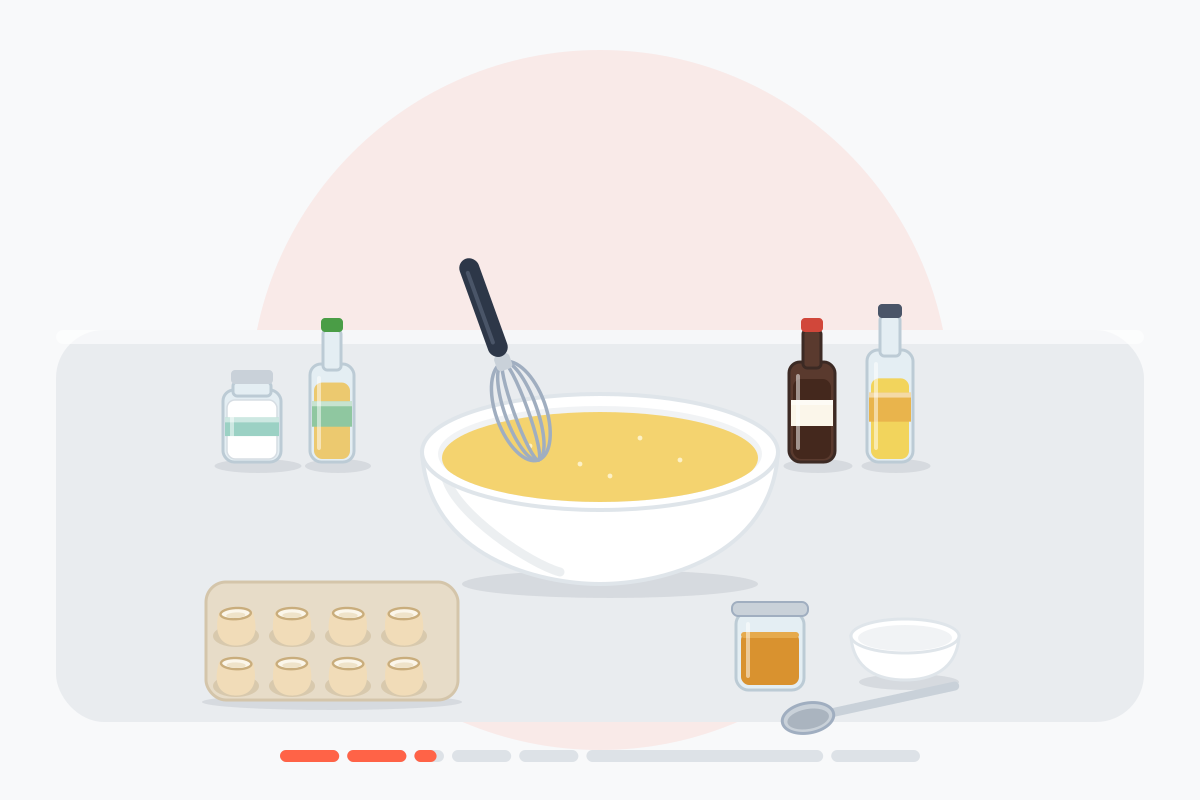
Crack the eggs and add the seasonings: Crack the 8 eggs into a bowl and add the dashi, sugar, mirin and light soy sauce. Mirin contains a little alcohol, most of which cooks off. Estimated duration: 2 min.
-
Whisk the mixture: Whisk the mixture thoroughly with a whisk or fork until it is uniform with no visible streaks of white, then keep it within reach of the stove. The seasoning is as listed in the ingredients: never taste the raw mixture. Estimated duration: 1 min.
-
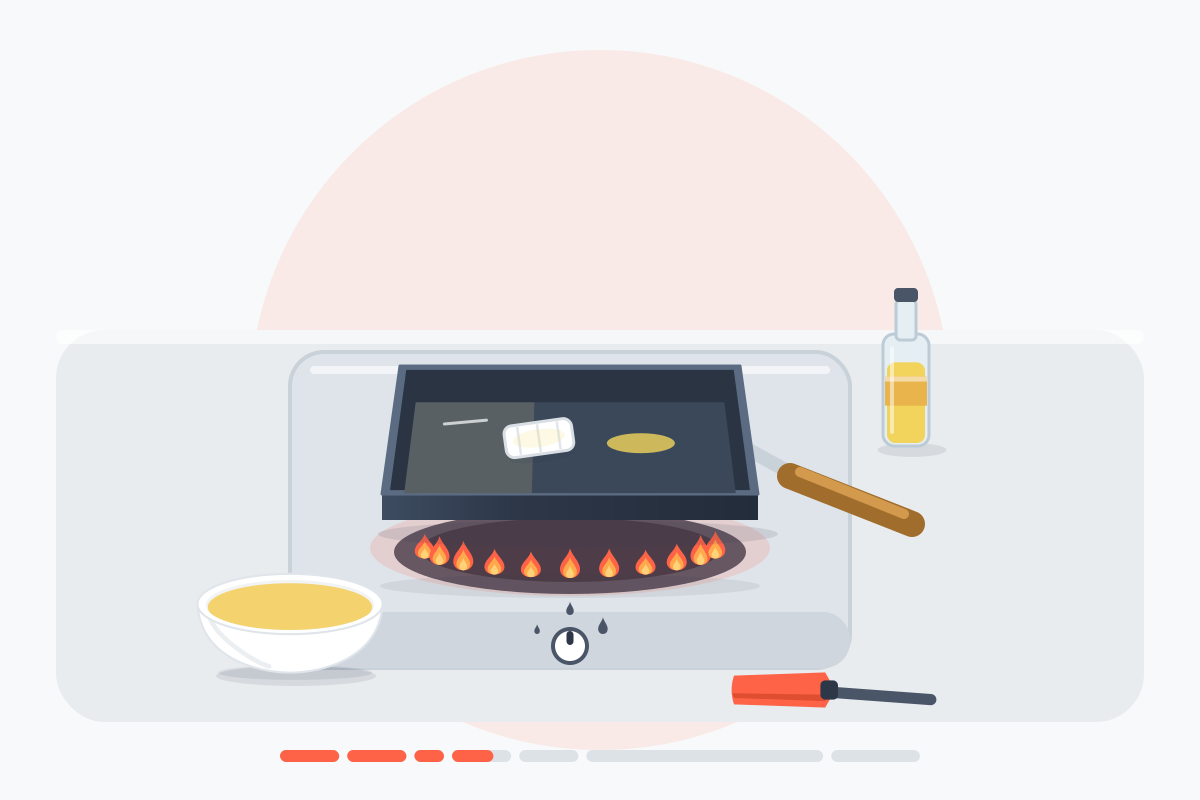
Heat the oiled pan: Heat a rectangular non-stick tamagoyaki pan, or alternatively a small round non-stick pan, over medium heat with a little of the oil. Wipe the oil over the whole base with a paper towel. Estimated duration: 2 min.
-
Cook the first thin layer: Pour in a thin layer of the egg mixture and tilt the pan so it spreads evenly over the base. Fry briefly until the layer just begins to set, then flip it and fry the second side briefly until lightly golden. Taste this first cooked layer and, if needed, adjust the seasoning of the remaining mixture before you carry on. Estimated duration: 2 min.
-
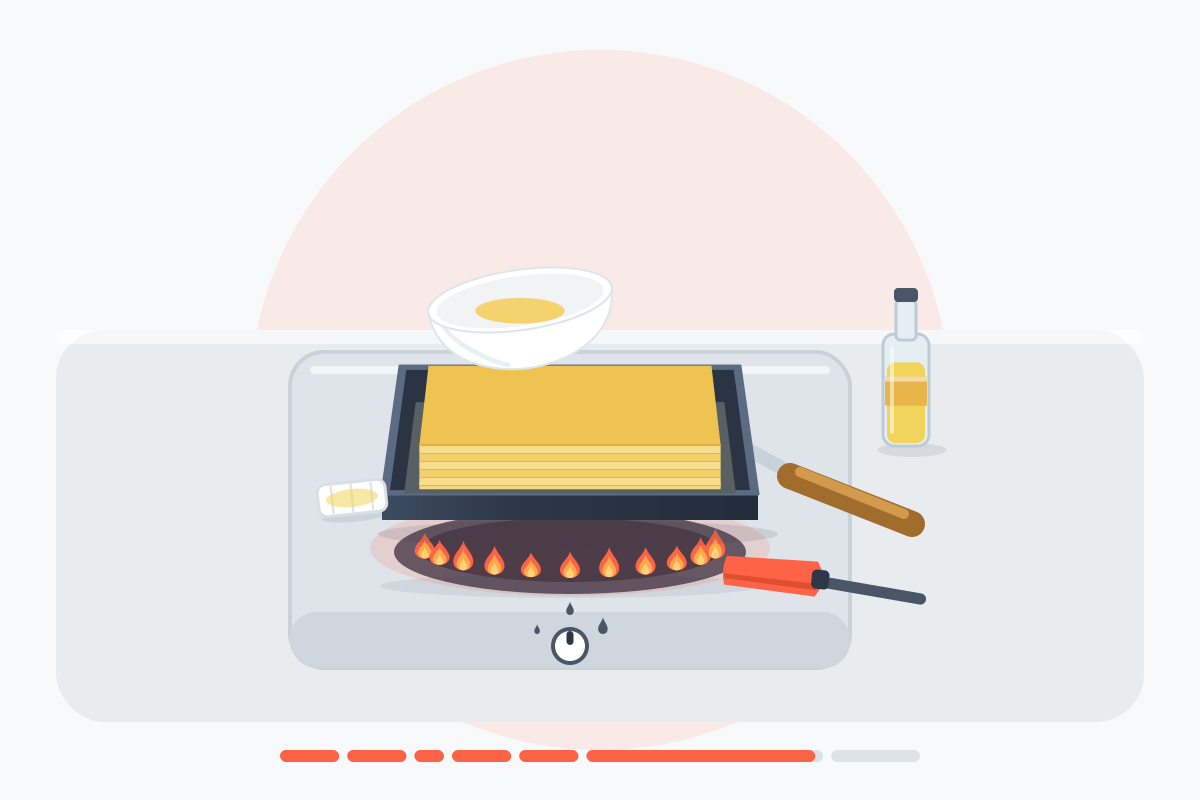
Stack the remaining layers: Lift the first layer out, re-oil the pan and pour in a little more egg mixture, spreading it into a thin layer; lay the cooked layer on top of the still-wet layer so the two bond. Cook each new layer until it is set and no liquid egg remains. Repeat this lift, pour and stack cycle, re-oiling as needed, until the egg mixture is used up and 5 to 8 layers have formed a cohesive block. Estimated duration: 8 min.
-
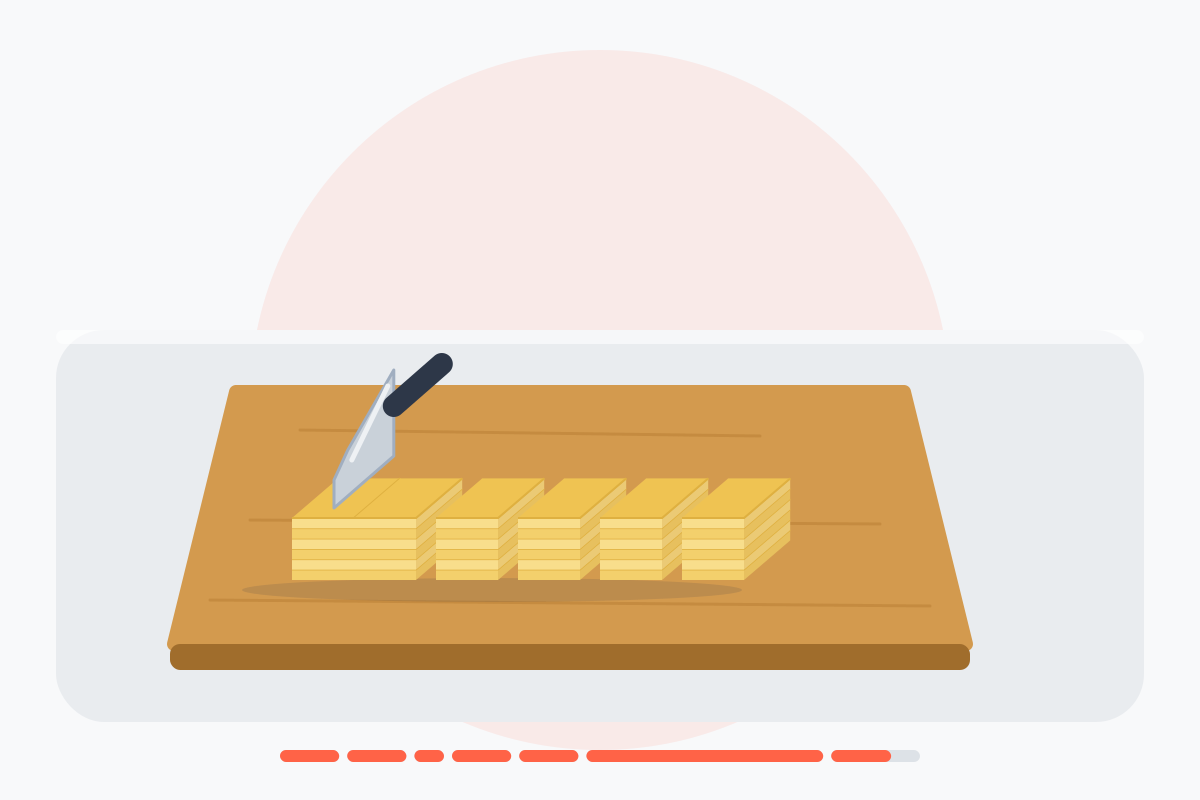
Cut and serve warm: Cut the layered block into bite-sized pieces, arrange them on plates and serve warm, with soy sauce (and optionally sambal) in small side dishes. Variation: in a round pan you can fold the omelette to a width of 3 to 5 cm, fill the freed space with raw egg and fold again, cooking each addition until it is set with no liquid egg left; strips of nori make a nice garnish. Estimated duration: 3 min.
Tips for a successful tamagoyaki #
- Keep the layers really thin. A small ladle of mixture at a time is enough: the thinner the layer, the more even and tender the final block.
- Medium heat, never high. Sugar browns quickly. If the surface darkens too fast, lower the heat or lift the pan off the burner for a few seconds.
- Bond onto still-liquid egg. Always lay the cooked layer onto the new layer before it has set: that is what stops the layers from separating when you slice.
- Oil between every layer. A thin film of oil, spread with a paper towel, keeps the egg from sticking without making the omelette greasy.
- Check the seasoning on the first cooked layer. The balance of sweet, salty and umami varies with your dashi and soy sauce: taste the first layer once it is cooked, then adjust the remaining mixture before you carry on. Do not taste the raw mixture.
- Slice with a sharp, damp knife. Wiped with a damp cloth between cuts, it gives clean slices that show off the layers.
- Allergens. The dish contains egg, soy and fish (dashi is made with dried bonito unless you use a vegetarian dashi); depending on the brand, the soy sauce and the mirin may also contain wheat.
How thin layers build the omelette #
The secret of tamagoyaki is not an ingredient but a technique: you do not cook 8 eggs at once, you build the omelette layer by layer. The first thin layer is cooked on both sides, then set aside. You re-oil the pan, pour in a little mixture and, while the layer is still wet, lay the cooked layer on top: the raw egg acts as glue and bonds the two together.
Repeating this cycle of lift, pour and stack gives 5 to 8 layers that form a cohesive block. Each new layer has to be set, with no liquid egg left, before you move on to the next. When you slice it, the cut face shows fine, regular strata, a sign of controlled cooking. If a layer tears or wrinkles, do not worry: the next layer covers it and presses it flat.
Keep up the rhythm: the egg mixture should stay within reach beside the pan, and the movements should flow without pauses. Cooking too slowly gives dry layers that no longer bond, while cooking too fast browns them before they have set.
Balancing sweet, savory and umami #
The seasoning of tamagoyaki is subtle. The dashi brings the depth of umami, the sugar and the mirin bring roundness and a hint of caramel, and the light soy sauce adds salt and definition. Light soy sauce is preferable to a dark one: it colors the omelette less and keeps the brightness of the egg.
The quantities in this recipe give a lightly sweet omelette in the Japanese style, which appeals to children and adults alike. If you prefer a more savory result, reduce the sugar a little and add a small pinch of salt to the mixture; for more sweetness, keep the sugar as written and serve a little soy sauce on the side.
Remember that mirin contains alcohol, even though most of it evaporates during cooking. This is worth flagging if you are serving people who avoid alcohol altogether.
Choosing the pan and setting the heat #
The traditional rectangular pan makes the work easier: its straight sides help you fold the layers into a block with neat corners. A small round non-stick pan does the job too, but the result will be more rounded and takes a little more patience to get an even block.
In both cases, heat the pan over medium heat with a film of oil. To test the temperature, drop in a little of the mixture: it should sizzle right away, without smoking or browning within seconds. A non-stick surface in good condition is essential because sugar sticks easily.
Variations and serving ideas #
Tamagoyaki also exists in a rolled version; in a round pan, the source describes a fold version: you fold the omelette to a width of 3 to 5 cm, fill the freed space with raw egg, then fold again, cooking each addition until it is set with no liquid egg left. A few strips of nori as a garnish give the classic Japanese finishing touch.
Serve tamagoyaki warm, in slices, with a small dish of soy sauce and, for those who like heat, a little sambal. It goes naturally with rice, miso soup or a salad for a complete breakfast or brunch. Warm plates are a nice extra, but not essential.
For a varied egg brunch, pair it with a shakshuka to share, or compare it with the creamy scrambled quail eggs with truffle for two very different textures.
Storing and reheating leftovers #
Tamagoyaki keeps well. Let it cool, then place it in an airtight container in the refrigerator and eat it within 2 days. It is excellent cold, sliced into a lunch box, but can also be reheated gently in a pan or in the microwave on low power until piping hot.
It is best warm and freshly cooked, because the layers stay more tender. Do not leave it at room temperature for more than 2 hours.
Source and attribution #
This article is an adaptation of the Tamagoyaki page of the KochWiki community cookbook (in German, by KochWiki contributors). The text was rewritten, translated into English and expanded with explanations, timing guidance and editorial advice by HowCookEggs, so it has been changed. In line with the license, this article is also published under the Creative Commons Attribution-ShareAlike 3.0 license (CC BY-SA 3.0) . We have not tested this recipe ourselves: it follows the source, cross-checked against other tamagoyaki recipes.
Frequently Asked Questions #
Do I need a special pan to make tamagoyaki? #
No, but it helps. A rectangular tamagoyaki pan gives a block with neat corners that is easy to stack. A small round non-stick pan also works: the omelette will be more rounded, and you can use the fold method described above. What matters most is a non-stick surface in good condition and medium heat.
Can I make the dashi within the 20 minutes? #
Honestly, no. Only 1 tablespoon of dashi is needed, but homemade dashi takes at least 10 minutes of kombu soaking, then cooking, resting and straining, so it is a task for beforehand. The 20 minutes of this recipe assume the dashi is already ready, either store-bought or made earlier. Instant dashi powder or concentrated dashi stock is a handy shortcut.
Is there alcohol in tamagoyaki? #
Mirin is a sweet rice wine and does contain alcohol. The 3 teaspoons in this recipe cook along with the eggs and most of the alcohol evaporates, but not all of it. If you are cooking for someone who avoids alcohol entirely, leave it out and add a little extra dashi and a pinch more sugar, knowing that the flavor will be slightly different.
Are the eggs fully cooked in this omelette? #
Yes, as long as you cook each layer until it is set and no liquid egg remains. Each thin layer is cooked on both sides and the block is built layer by layer, so the egg is cooked through, unlike a creamy or runny omelette. Young children, pregnant women, older adults and people with weakened immune systems should eat only fully set eggs, so check that no liquid egg is left between the layers. For runny yolks, see our soft-boiled eggs recipe ; for a creamy texture, try the scrambled quail eggs with truffle .
How do I store leftover tamagoyaki? #
Let it cool, then keep the whole block or the slices in an airtight container in the refrigerator and eat within 2 days. It is very good cold, for example in a lunch box, or reheated gently in a pan or in the microwave on low power until piping hot.